|
From going to the duck pond, I learned that quality of portraiture really depends on the setting of the photo. While determining the poses, I used the paper that was provided and the scenery available. The paper was somewhat helpful but free reign would have been nice. As I was taking my pictures, I used the reflector to add in light. I used more of the white side to add a soft glow versus the bright, warm glow which could have been provided using the opposite side. After uploading the images, I retouched the photographs by adding a soft blur and removing any blemishes from the subjects faces.
After completing this project, I looked into the portrait photographer position and what it takes. I learned that an entry level portrait photographer makes about $8-$10 an hour. I also learned that the best way to become an experienced portrait photographer is to get into commercial photography.
0 Comments
In my pictures, the only food that I had brought was the lemons used. The props that I used were the cutting board, the "namaste" spoon, and the white mug. The blueberries were provided by my teacher.
Five things that I learned from doing the food photography were placement of the food, how to make the lighting better, angles of the food, the best aperture to use when photographing the food, and the best way in which to have someone interacting with the food. The things that I did in order to make my photos look similar to ones taken by a professional were to really make the placement look nice and to really highlight the beauty of the food. Three things that I learned from doing the food photography were to have a more specific idea in mind when doing something like this, to really understand the composition of the food and props, and to rush but be patient at the same time. Some careers that use food photography are food critics since they judge the food they eat, food magazines because they show off what the end product of different dishes, and any restauranteurs since they need to have images of their food in their menu. Something that I think I was successful in doing with my food photography was the placement of my food. I would do this again because I feel food photography is such an art since food is a huge deal in today's society. The better the food looks, the more people will be attracted to it.  1. First I saved the template from the common drive and dragged each picture onto the template. I had to resize them to fit the template borders. Then you click the checkmark to place the image there. Once you have all of the images on the template, you merge the layers and save the image.
2. I had a hard time resizing the images to make them fit the template. 3. I was proud of figuring out how to edit the picture properly. 4. I liked the A most in my artwork. 5. I could have improved the other 3 letters more with editing and angles.  This is me in 10 years. I am an aerospace engineer on my way to work for NASA. I have studied for the past 8 years to earn my masters degree in aerospace engineering. I was able to learn about the aerodynamics and build of rocket ships and airplanes. I am living my dream! 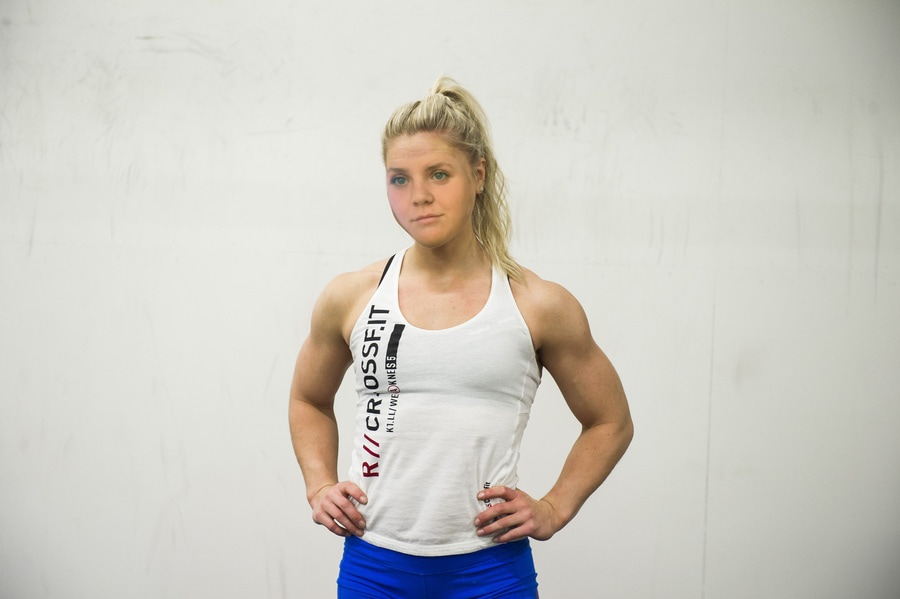 In this picture, I am portrayed as a professional CrossFit athlete. I used the body of Katrin Davidsdottir. Being fit and strong is my dream for my physical body. I enjoy lifting weights and playing sports. CrossFit athletes are hardcore lifters and are all around perfect athletes.
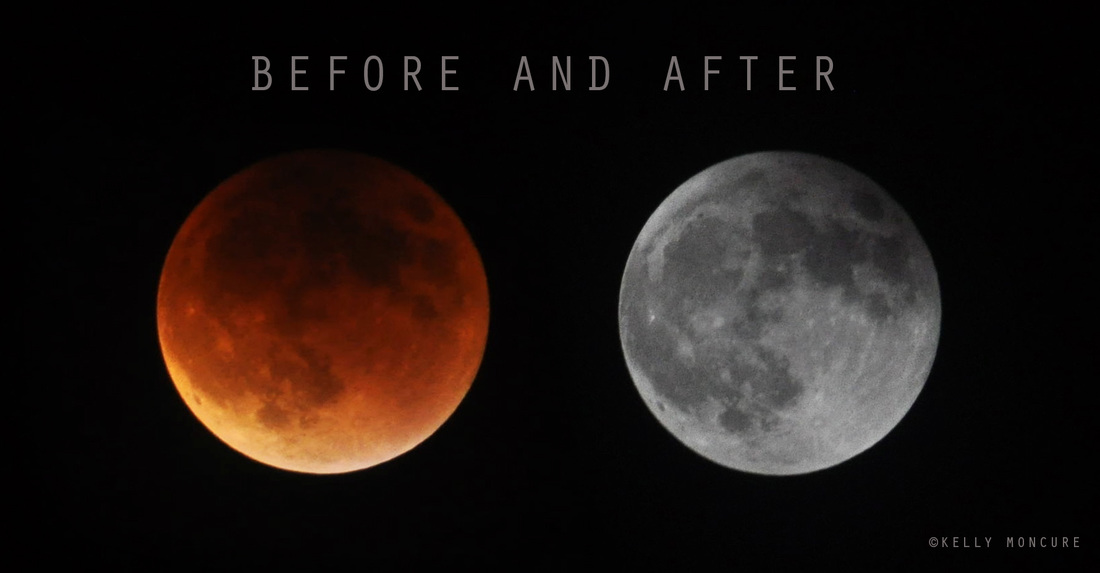 Blood Moon Lunar Eclipse, September 27, 2015. Left image: 70-300mm lens @ 270mm, ISO 1000, aperture f/5.3, shutter speed 1.3 secs. Right image: 70-300mm lens @ 300mm, ISO 800, aperture f/13, shutter speed 1/1250 sec. To photograph the moon: 1. Use a tripod! A flat surface will only allow you to shoot straight, and shooting the moon means that you'll be shooting up and constantly re-adjusting the tripod as the moon moves throughout the night. 2. Use a shutter release cord, remote or the camera's self timer if you don't have one, so that you don't move the camera when pressing the shutter release during a long exposure. 3. Use a zoom lens and zoom in as much as you can to the moon. It's okay if it's not a super fancy lens, this was shot using a 15 year old $100 lens. Focus in on the craters and details on the moon. 4. ISO 1250- 1600, so that you can use as fast a shutter speed as you can without losing detail-the longer the shutter speed, the more chances you have the camera will shake even slightly in the wind, resulting in an out of focus photograph. 5. Aperture priority of f/5.6 since you are not worried about capturing any details other then the moon. 6. Bracket your exposure, meaning over expose and underexpose the photograph from what the camera is telling you. Generally the camera will overexpose the moon, so you'll get nothing but a white blob in the sky. Use the exposure compensation button (the +/- button below the shutter release) and change the exposure to -0.5, then -1.0, then -1.5 and so on, until you start seeing detail in the moon. You may go as far as -5.0 exposure compensation to get what you need. 7. Take a fair amount of photos and keep refocusing as the night progresses. The photographs may look focused on the camera's display, but you won't really see if they're completely in focus until you upload them onto your computer screen. 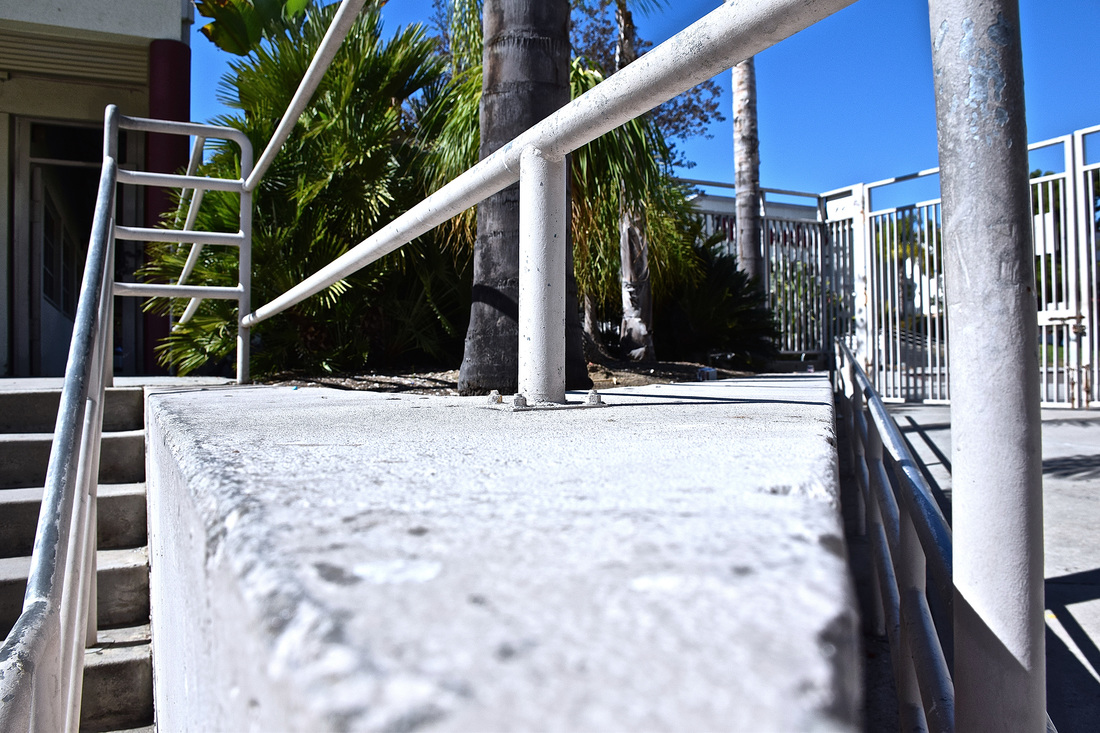 Line, Aperture: f/8, Shutter Speed: 1/1250th of a Second, ISO: 400 This image represents the element of line because the objects within the image create the illusion of lines going through the image. The picture is successful is showing line since the railing seems one dimensional and vary from being horizontal, vertical, and diagonal. It also leads the observer around the image, following one side of the picture to the other. 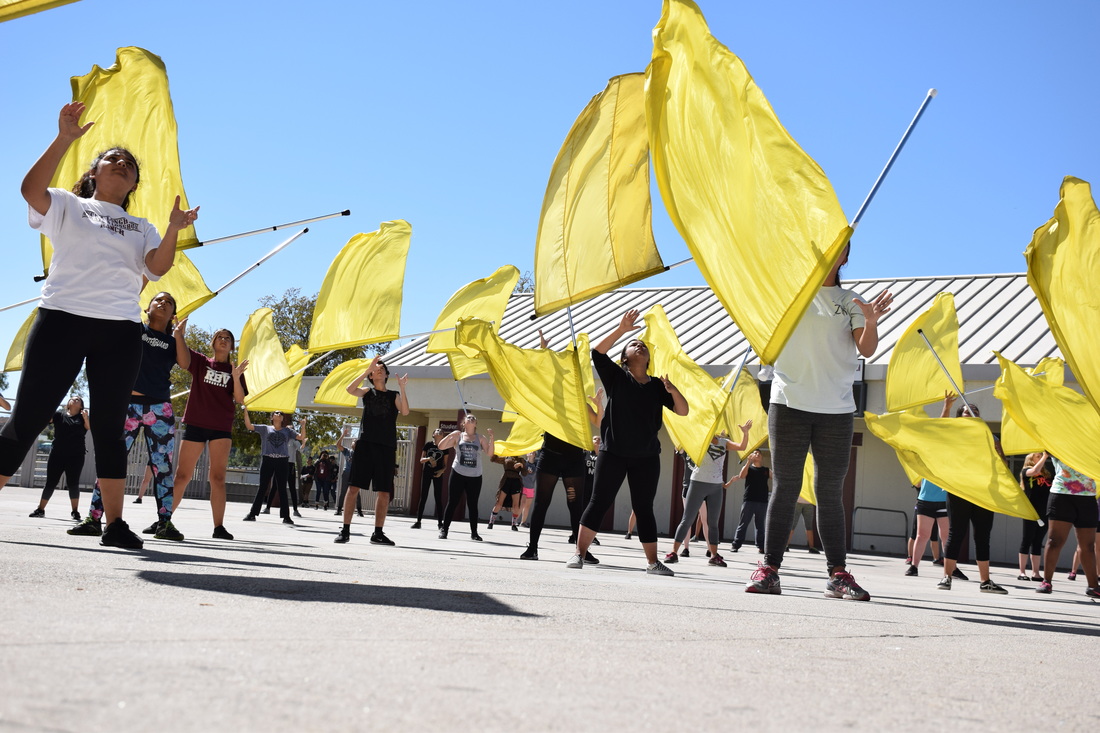 Color, Aperture: f/8, Shutter Speed: 1/1250th of a Second, ISO: 400 This picture of Color Guard expresses the element of color because it directly shows the hue of yellow. The value of this picture is lighter and the intensity of the color is low. 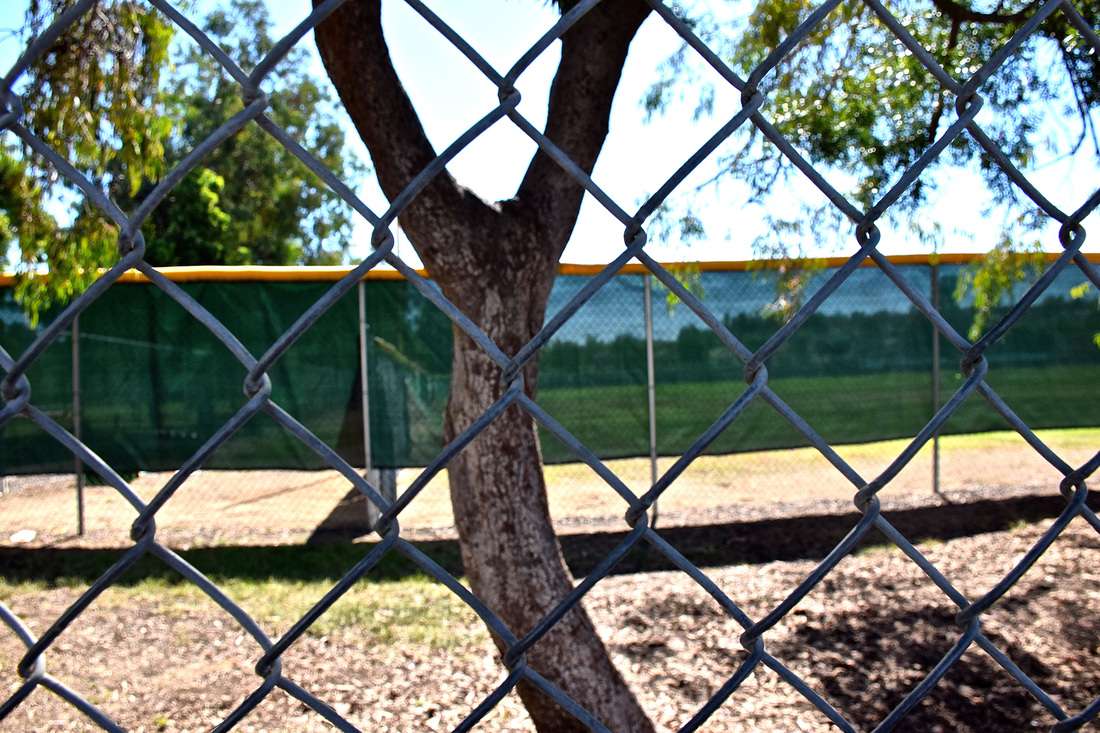 Shape, Aperture: f/8, Shutter Speed: 1/1250th of a Second, ISO: 400 This is a picture of the chain link fence at the basketball courts. This shows shape because the fence creates a diamond shape. 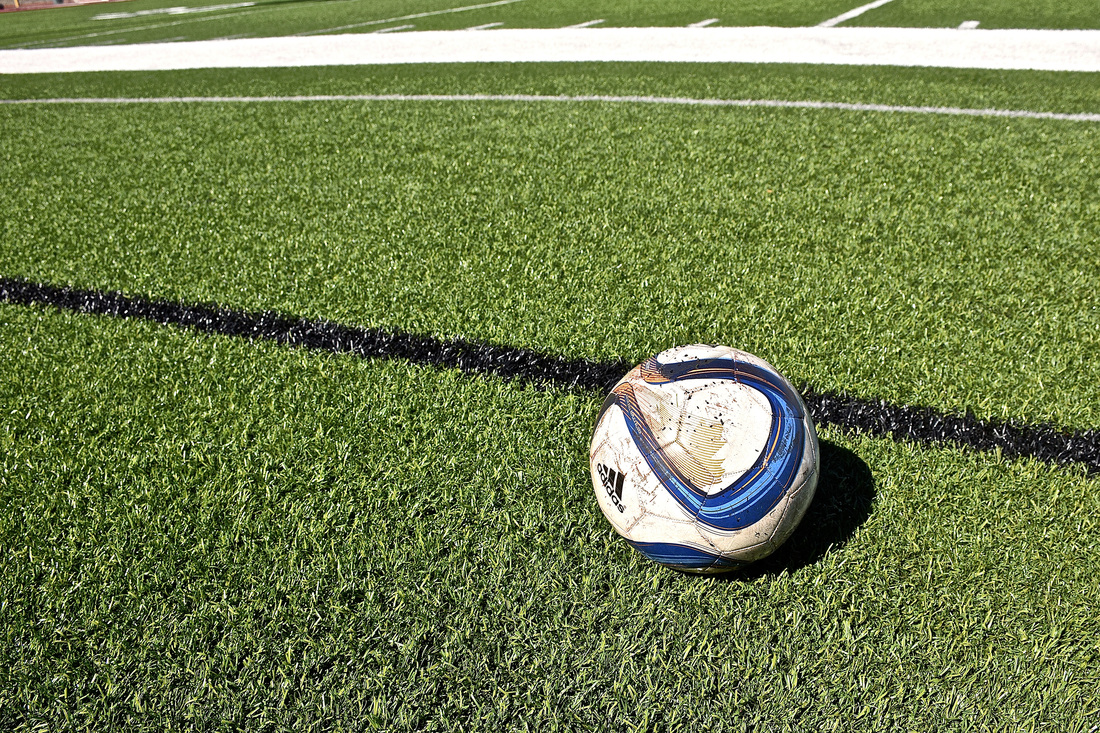 Form, Aperture: f/8, Shutter Speed: 1/1250th of a Second, ISO: 400 This photo was taken when the soccer teams were practicing. This shows form since the shadows below the soccer ball give it that three dimensional look. 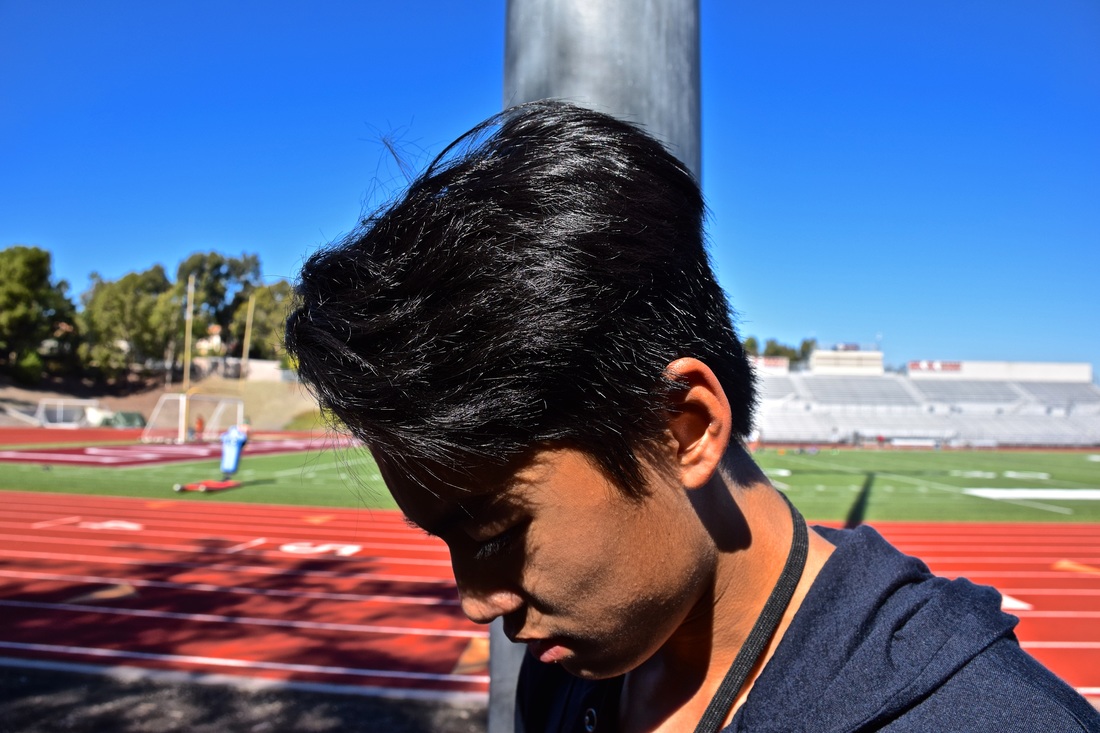 Texture, Aperture: f/8, Shutter Speed: 1/1250th of a Second, ISO: 400 I took this picture of my friend James. You can see the texture in his hair since it looks soft and bouncy. 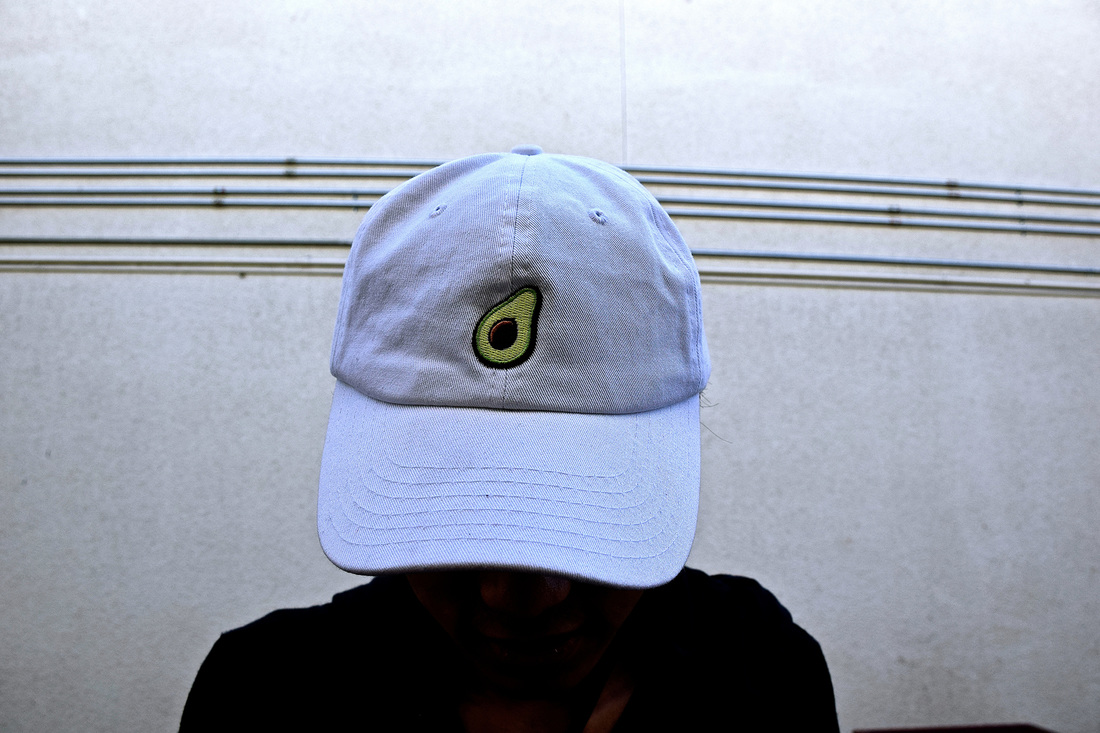 Space, Aperture: f/8, Shutter Speed: 1/1250th of a Second, ISO: 400 This is also a picture of my friend James. This shows space since the hat is the main subject and there is negative space around his hat. 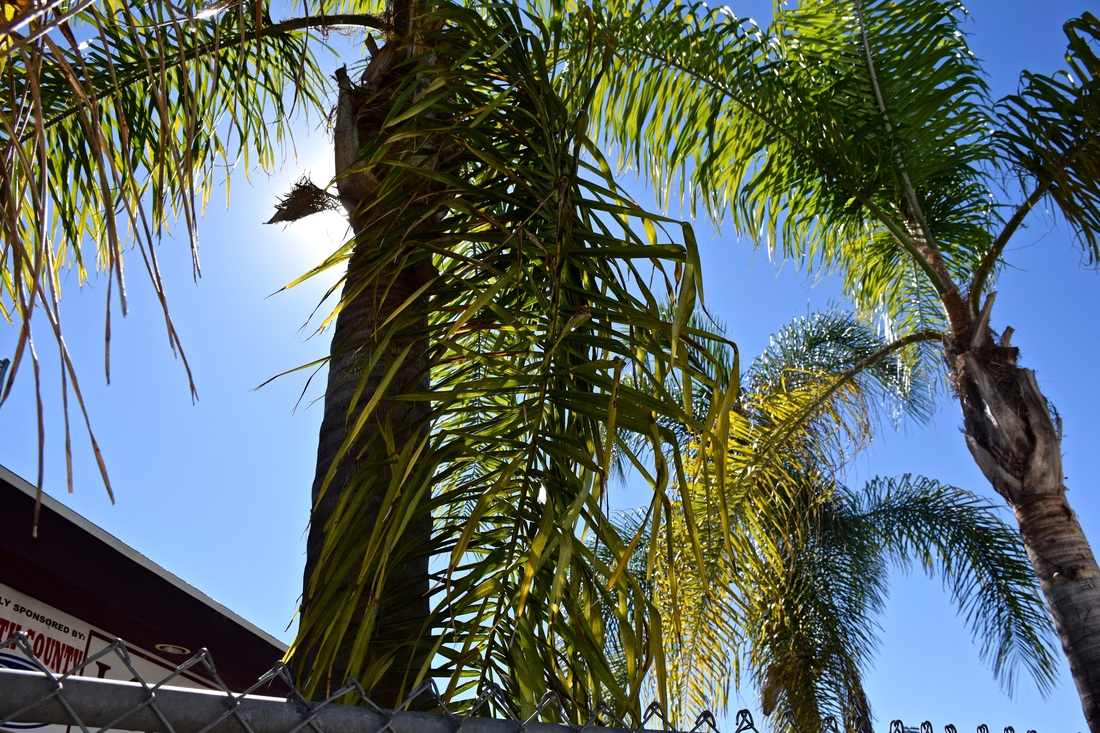 Value, Aperture: f/8, Shutter Speed: 1/1250th of a Second, ISO: 400 I took this picture of the trees next to the baseball stadium. This shows value since there is light around the tree and the shadow next to the tree as well.
|
AuthorMy name is Morgan Kaze and this is my photography blog. Go on the journey with me into photography. Archives
April 2017
Categories |
 RSS Feed
